Installing Proxmox
Aquiring the Proxmox Host
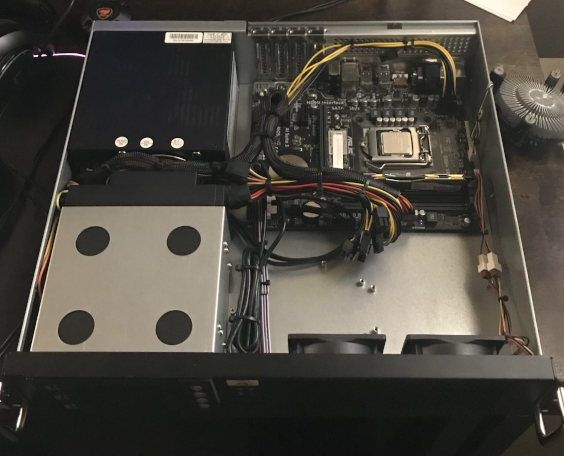
About a month ago, a good friend told me that he had come across a rack-mount server laying around his work and asked if I was interested. “Yes”, I said.

I’m pretty sure I have broken almost every intel heatsink that I have attempted to remove. This has never been to my detriment because I have always been replacing them with better cpu coolers. In this case, however, I just wanted to check what cpu was installed, remove and reapply thermal paste if necessary, and replace the heatsink if I wanted to keep using the installed cpu. So I broke the dinky plastic feet on the heat sink and learned that the installed cpu was not so great.

How This Project Ended up Costing Money Anyways
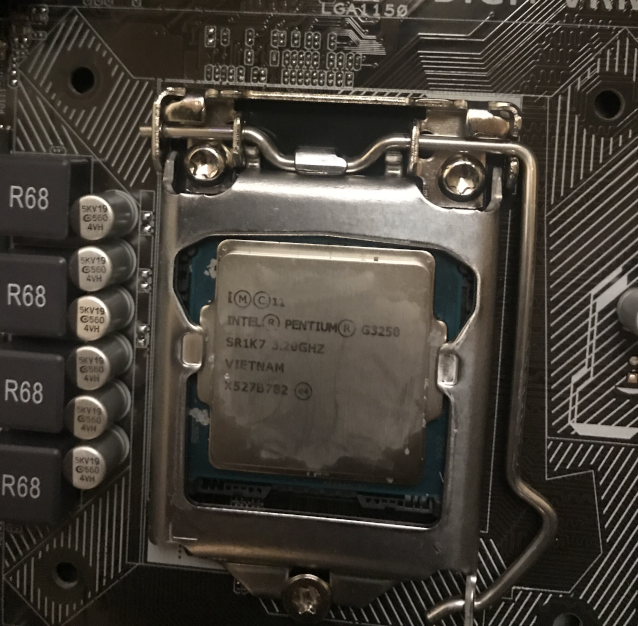
The installed cpu was an Intel G3250. This is an 1150 socket so I was torn with indecision. Do I replace the motherboard to use a newer socket or shell out for a processor that fits the current one. I decided to go with the latter and found a 4590 on amazon for $110, a new stock heatsink, and an 8gb stick of ddr3 to supplement the 8 already installed. Was this wise? Probably not, I likely could have found a decent used poweredge server for the amount I was already spending. It was fun to put together though. It all went together and POSTed successfully.
Preparing the Installation Media
My plan was to download Proxmox onto my Debian Virtual Machine (VM), write the installation image onto my flash drive, and install. This process took a couple hours because of my unwillingness to delete a partition on the drive and… distractions. I use Virtualbox for VMs on my desktop and to pass through USB 3.0 to my VM I had to install Virtualbox extensions. If you have USB 3.0 this is 100% worth it because writing to a large flash drive using 1.0 will take a LONG TIME. So the entire process of writing the image to USB looks like this:
- (If using a native Linux installation, skip this step) If using a Linux Virtual Machine on VirtualBox, prepare a USB 3.0 filter: select VM | click Settings | click USB in side panel | click the USB icon with a ‘+’ | select device to add.
- Download Proxmox either via browser or using the
curlcommand. - Start VM and from the terminal type:
lsblk -pThis will display a list of block devices (essentially storage devices) and the paths to them. - Verify that your flash drive is displayed
WARNING It is extremely important that your output file (
of=) in the following dd command is your flash drive. If you accidentally choose the wrong block device you can potentially destroy your Linux installation. - If your flash drive shows as mounted (has an entry under mount location) in terminal
umount path/to/usbwhere path/to/usb is the path shown by the lsblk command to your usb. - In terminal
sudo dd if=path/to/downloads of=path/to/usb status=progresswhere path/to/downloads is the path to your downloads folder e.g.~/Downloadsand path/to/usb is the path to your flash drive shown in the previouslsblk -pcommand. Note: Thestatus=progressoption will only work if you have coreutils 8.24 or newer installed. If you don’t, it isn’t a big deal. Run the command without thestatus=progressoption. You just won’t be able to see the progress of the command. The command has finished running when you see the command promptuser@hostname:~/$return to the screen.
Installation
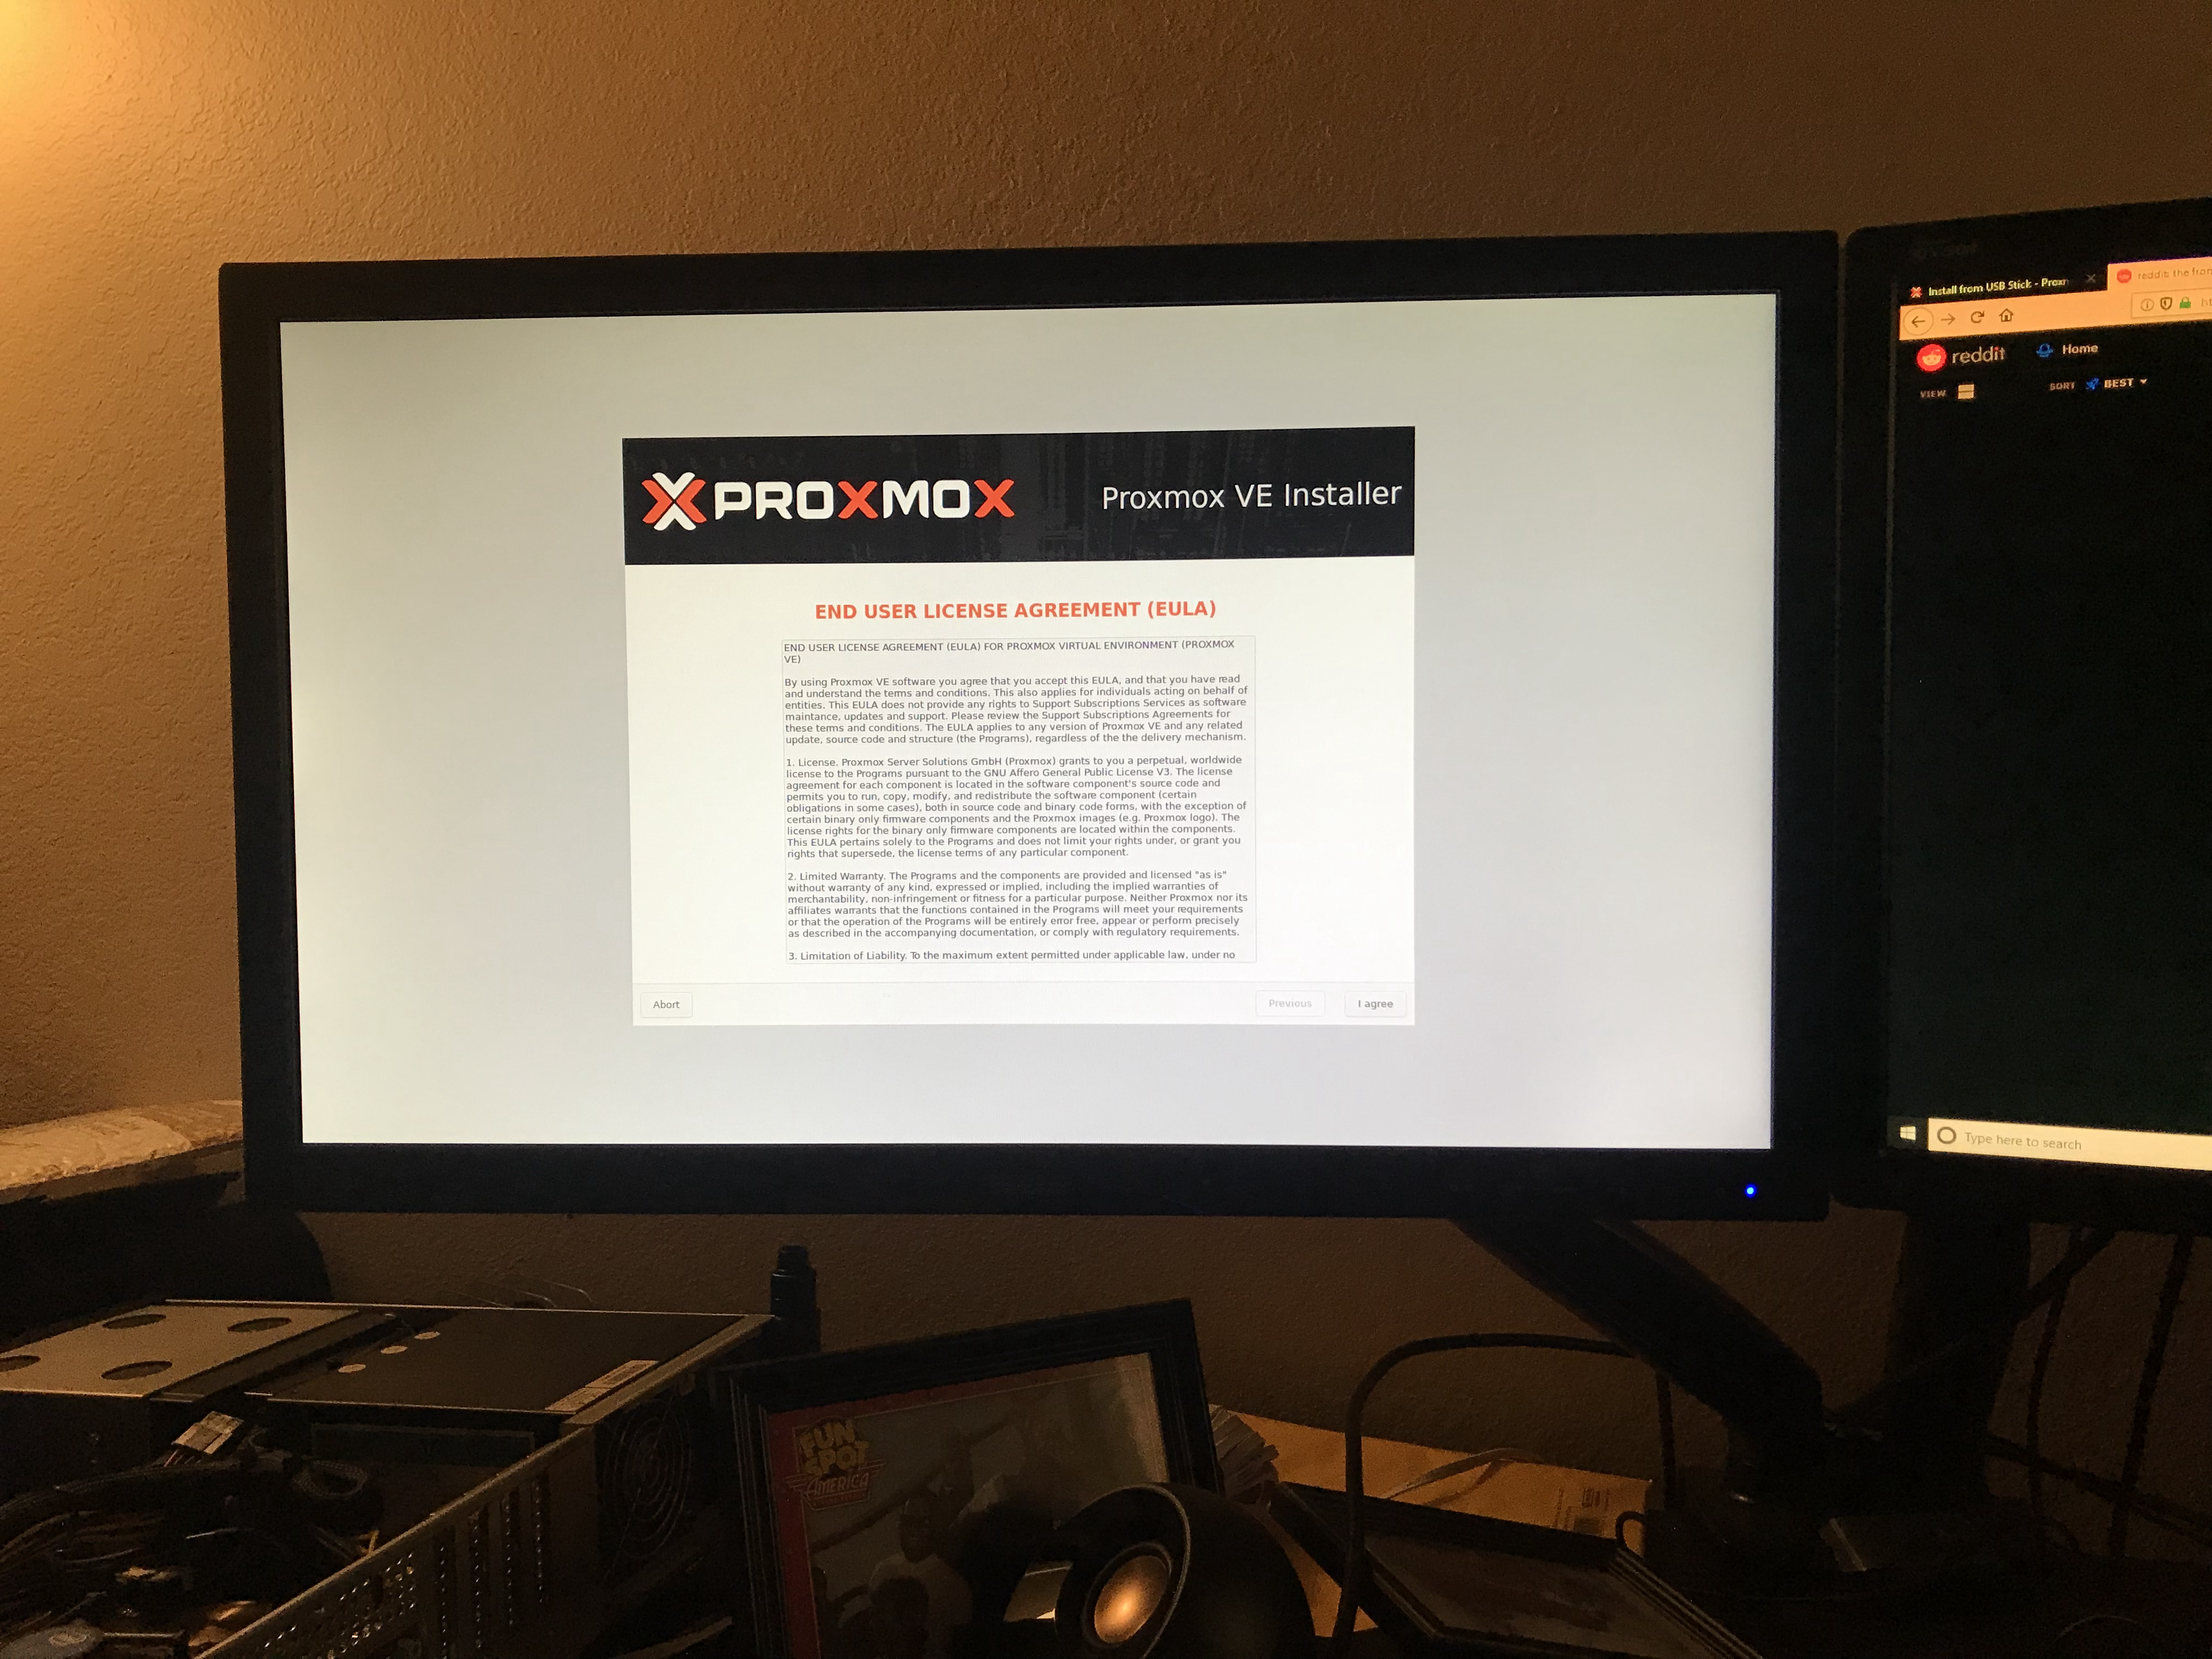
Plug the newly imaged flash drive into the Proxmox host and change your boot options to boot from the flash drive. Boot, and hopefully you should see a splash screen!

The rest of the installation should be pretty straight-forward. Follow along with the installation wizard and make sure that you assign the appropriate:
- default gateway - This can be found on Linux by typing:
ip route show | grep defaultor on Windows with theipconfigcommand and searching for the default gateway entry. - IP address - You want to assign Proxmox a static IP address. You want the address to be within your subnet but outside of the range of IPs reserved for DHCP. If none of that makes sense, here is a short blog post explaining some networking terms. Your router’s DHCP settings may allow you to reserve an IP address for your Proxmox host and if it does you should to avoid IP address conflicts. Most routers can be configured through web apps which can be accessed by typing your default gateway into a web browser’s address bar. While you’re at it you should change the password to something other than ‘password’ or ‘motorola’.
- Your hostname and domain can be changed later and if you don’t know what to put here then chances are that you can put anything and be fine.
After the wizard concludes the machine should reboot to the terminal. It should also display the IP address and port number for accessing Proxmox via web browser. Take note of this address. There will be a prompt for the username and password established in the wizard. Before placing your host machine in its final resting place try logging in and doing a simple ping google.com command to make sure you have network connectivity. Alright, now go set that machine in it’s bed of cat5 spaghetti.
Post Installation
The Proxmox VE uses a web-based GUI that can be accessed by typing the address you copied from the terminal earlier into the address bar of your web browser (Don’t forget the ‘https://’). This is going to scare your web browser. Proxmox doesn’t use “real” SSL certificates which makes your browser think the website you’re trying to access is dangerous, which would normally be true. But you just made it, so make an exception. You should be brought to a login screen where you can login as root with your previously established credentials. That’s it. You now have an Virtual Environment to experiment with all the virtual machines and containers your host can handle.